Friday Update: Ten Four Twenty...
Happy Easter weekend, I am writing this from a relaxed workshop, windows open, two micro layouts in progress and a better state of mind. I hope everyone is bearing up ok, and here is this week's update...

First up, the large scale 1/12 (ish) Whimshire battery steam locomotive has now been 'finished' awaiting nameplates and weathering. The plates are held up by Narrow Planet's etch supplier going into shutdown, more on that throughout this week's update. Since last seen I've finished the simple lining, added the boiler feed pipework, painted the details, lacquered it and then added the brass spectacles and glazing. It's looking a little too clean, but the dull-cote has dulled down the brightness of the green in the flesh quite nicely.


On this prototype the horn block guides are a little too tight, and the spacing for the worm and gear is a touch off, so these have been adjusted and then it's a second prototype to be tested. This though can't get much beyond what you see here until I can get the coupling rods and pickups etched!

On the workbench I've been assembling this GE 70t in S-scale from a good quality resin kit. It's needed a little bit of fettling so far, but it's gone together well. The handle forming was repetitive but worthwhile, all those grab handles will look great when painted. The NWSL bogies are very neatly made, they need wiring together but the design looks very smart. I will be adding the handrails next week, which usually brings these North American models to life...

On the home front the lighting for Pont-y-dulais has been fitted, wired up and tested, and the bullhead points have arrived so this weekend should see some track down, wired and tested. I need to decide what to use for point operation - I originally planned wire in tube, then thought I could just use the Peco 'stubs' but the Bull-heads don't have them! We'll see...

The second prototype for the Peckett cab was printed - it's come out really nicely. I've added some extra detail, adjusted the tabs and fitted a solid roof to the print to firm it up when printing. It arrived with a replacement chimney I also designed from Steve (where the printer is!) and it looks great. This is another of the project held up by the etching delay - but hopefully the etched roof and plates will fit first time and this can go into the PI range this summer.

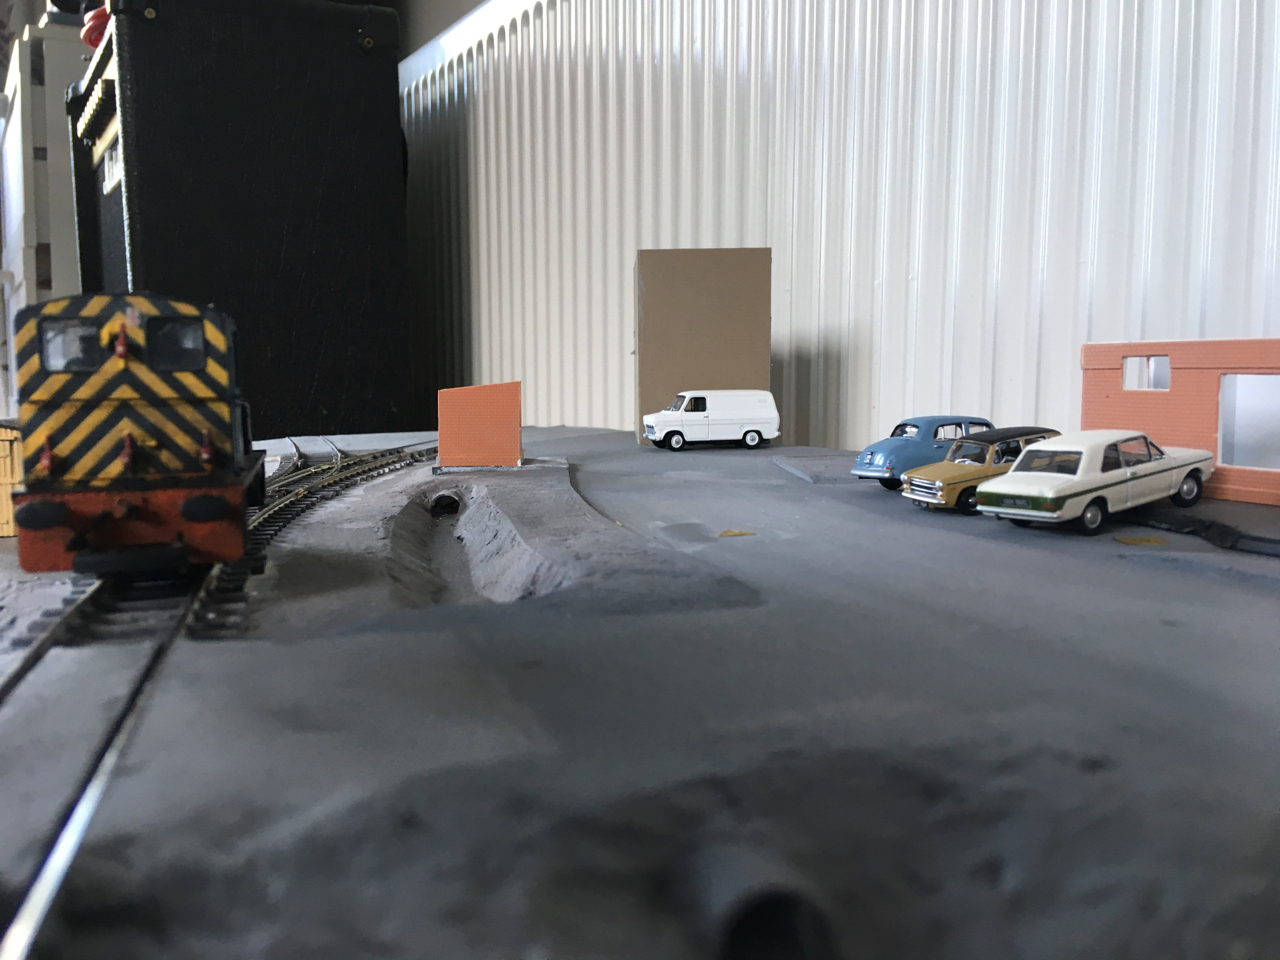
Finally, I've been working on the other micro OO layout I've been building on and off for a while - Mollington Road. The next step is really the buildings now, not a favourite task of mine, but I'll get on it this weekend. The road has a camber added, and the rail heads are cleaned up in this shot - the new cars have had their finish dulled down with Dull-cote (handily these Oxford diecast cars just unscrew to remove the glazing) and the front axle cut and re-set to give the impression of the wheels being on an angle.
The sleepers and rails have been painted this morning - so I can begin o experiment with ballast tones next, alongside the structures, which gives me a few things to work on.

Next week is week 4 of the shutdown here in the UK. I'm still finding it easy enough to get supplies so if you're in the market for any commission work please do get in touch. In the meantime, stay safe, take care, more soon...
The new OO chassis looks interesting James... One thing to keep in mind with 3D printed chassis that will be coupling rod driven (to the non-powered axle), you need to measure the exact axle spacing of the final 3D print. From this measurement, you can set the crankpin hole center spacing for your etched parts.
ReplyDeleteAssuming that the axle spacing in the 3D printed part will be exactly as you've drawn it (dimensionally speaking) could result in binding issues.
Another thing to look at is the consistency of this dimension from one printed chassis block to the next. Variance between prints will cause you headaches as well.
The same concerns can be applied to your 009 Lyd2 chassis that will use parts from the Grafar 08, but is compounded by the 3rd and fourth axle in the chassis block.
If you've already ordered the etchings, I'd measure the axle spacing of both chassis blocks to verify that it's close to what you've drawn for the etching.
I say all this as someone that's built or experimented with a few dozen 3D printed chassis blocks (Shapeways and I-Materialize) and noticed a lot of variation from one print to the next (of the same chassis block design). Using your own printer may present you with more control over your prints, by being able to select the same orientation from part to part.
Watching what you do with great interest!
Regards,
JeffB