A detailed opportunity... (N part 4)
One of the key elements of my N scale experiment is about challenging my own preconceptions about working in the scale and the perceived compromises I feel I’d be unhappy to make...
 I’m going to borrow Chris’s comparison with learning a new language...

It’s so easy to default into a conversation about N scale and then worry how we will make worthwhile models in this smaller size. Let’s ignore that narrative. It’s not productive. They say the hardest part of learning a language is to stop translating back and forth. It’s easier once you just relax and start thinking in the new; learning how to express yourself on this new medium.
I was keen to break out of the ‘it’s N scale so too small for fine detail’ mindset, I turned that thought on its head and instead pondered ‘I wonder if I can build a model that at first glance is difficult to determine it’s scale?’ and ‘I wonder how much detail I can squeeze into the model?’
 For example, I thought I might need to use 0.3mm brass, which would have been a little delicate, however the 0.4mm diameter rod looked perfect and so this was bent up in several pieces to join up the detail parts. A few holes drilled and some superglue have produced a car that is up to gentle handling. I reused a pair of old Microtrains trucks I’ve had for years, cutting the couplers off, and mounting them directly to the frame (At this time it was more important for me to get a working prototype so I’ve superglued these on rather than drilling and tapping, which would be preferable on the production batch - same goes for the log bunk which are superglued in place whereas I’d prefer to low melt solder these on for a more robust finish). In a further effort towards fidelity the cast brake wheel was discarded and replaced with an N-brass hand wheel. This combined with the foot steps in etched brass that came with the kit lend a further level of detail...
This positive mindset...
It’s refreshing, exciting and invigorating...
This kit started life as an Nscalekits 48’ skeleton car, a cleanly moulded if slightly warped set of parts including brake components just needed Microtrains trucks to complete. I let my mind wander over the project and through books and photos... one thing jumped out on the prototype were the long spindly air brake pipe work that was routed along the spine... why not model the air lines on the chassis, as this would be the easiest way to up the visual detail levels?
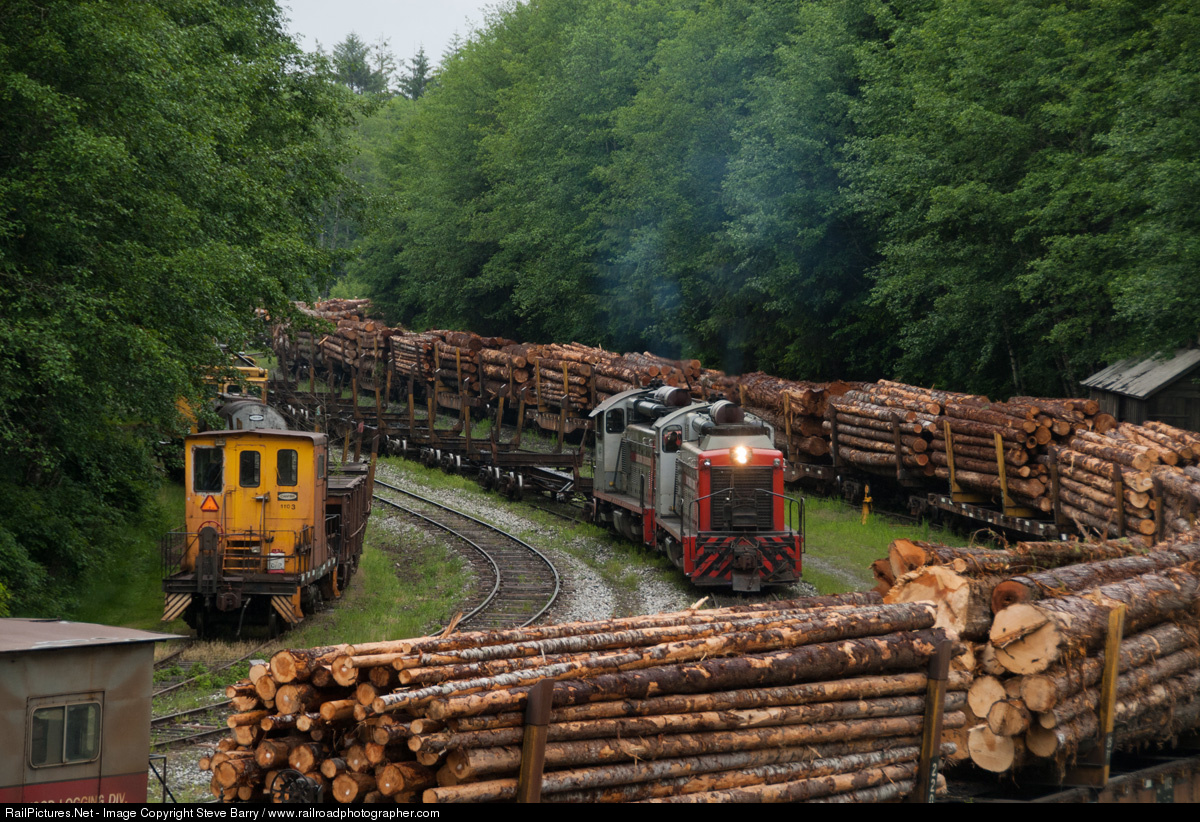 |
| I’m going to need a lot of these... Steve Barry photo (source: https://www.railpictures.net/photo/500300/) |


Each kit car comes with a trio of bunks, I’ve cut off the fixings for the centre one and smoothed the chassis - this will leave me with a spare for each car completed... I’ve a plan to create a few different styles of car, so they have gone in the parts box for a later project.
This is a new box. A new start. Fresh ideas...
I couldn’t resist a coat of primer, and what a transformation... for me it’s been completely successful, posed here with the Lifelike SW1200RS I’m really happy with the detail and I’m looking forward to the next step of this journey. Until next time, more soon...
Comments
Post a Comment
Thank you for leaving a comment on my blog - I appreciate you taking the time to share your views. If you struggle to log in, please turn off the ‘block cross-site tracking’ setting in your browser.
James.